
Reflections
- amymbrogna
- Jul 5, 2023
- 5 min read
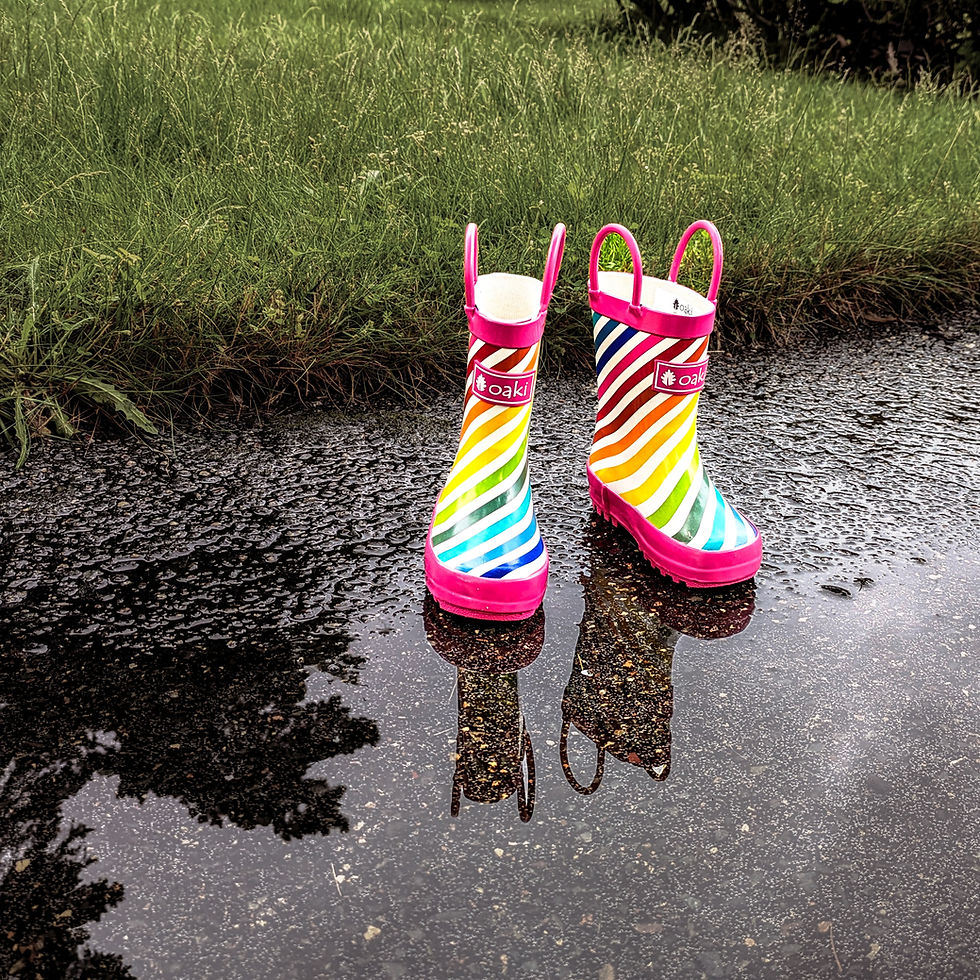
The next theme focuses on reflections. Reflections do not just result from water, so get creative! I was concerned I'd have trouble finding good reflections because it was a rainy and cloudy day when I took my sample images, but it worked out!
This blog will continue the discussion about editing photos. Editing is infinitely easier when you start with a good rough draft - good composition, proper focus, good lighting, etc. Things rarely work out perfectly, however.
We looked at some of the basic editing tools previously. Today we are going to build on that knowledge. We are going to start with the standard options for editing with the phone software and then explore Snapseed. I'm going to create a screen recording to show you these tools in use and include the mobile version of Lightroom. Lightroom is a better option if you want to be more serious about your editing, however, to get the tools that are extra useful, you do need to pay for a subscription. I believe it's about $10/month, but I'm not certain.
The phone software... (again, I have a Google Pixel 7a, so I'm working with an Android. I am not familiar with the iPhone editing options).
The phone provides a few suggestions to get you started when you open the editing tool. Sometimes those options will provide you with a great update to your photo, often, they do not. No harm in trying them though - I often click on one to get a start and then build from there. Some phones offer an "auto" option. Usually, this will improve your photo, but it's not a great option.
You may also have a "Tools" option that allows you to use the "Magic Eraser", "Unblur", and "Portrait Blur". I have used the magic eraser, but it does not always get things right. I avoid Unblur and Portrait Blur. Unblur uses AI to fix focusing errors and, while it can do a good job, it often leaves unwanted artifacts in photos or makes things a little "off" looking. Portrait blur makes things look fake, in my opinion. It blurs too much and doesn't provide a realistic depth of field. You can play with options to get a more realistic look though.

Most of my work, on the phone, comes from the "Adjust" menu. Here you'll find the heavy hitters for editing - Brightness (Exposure), Contrast, HDR, White Point, Highlights, Black Point, Shadows, Saturation, Warmth, Pop, Sharpness, Vignette, and possibly more. If you like the look of the Vignette, go for it, but it is considered to be out of date in the photography world.
Start with Brightness. Adjust this until any areas too dark are no longer too dark and any areas too bright are no longer too bright. Basically, adjust until the lighting looks correct. Cell phone photos are usually on the darker side and need some brightness added in.
From here, much of editing is personal preference and what fits your style. I tend to like a little more Contrast and a bit of "Pop" to make my colors a little more bold. I do not like a heavily shadowed image and often reduce the shadows.
The contrast will make a bigger difference between your lights and darks (lights a bit lighter and darks a bit darker). HDR (high dynamic range) will even out exposure (if you take a picture of the sunset, the sky will be nice and bright, but everything else will be dark. HDR will even that out a bit, but you can play around with it in other situations as well), White point is how white your whites are (if you make adjustments here, make them small - a little goes a long way), highlights adjusts the areas that the light hits (dragging it down reduces brightness in these areas, dragging it up increases brightness), black point is how black your blacks are (again, a little goes a long way here. If your photo still seems a bit dark after editing, drag this up a little. If it seems lacking in definition, drag it down a little. I tend to drag it down a little because reducing my shadows takes away some of the definition), shadows adjust the areas of your photo where the light does not hit, the shadows (drag this down to increase shadows and drag it up to increase shadows), Saturation changes how intense the colors in your photos are, warmth adjusts the blues and yellows in your image (dragging down adds more blue to your image, dragging up adds more yellow. I tend to like a slightly warmer image, but only slightly), the pop option increases the contrast in select areas of your photo (I like to increase this a little because I like the look, but to be honest, I'm not exactly sure how this works), and sharpen makes the photo a bit more "sharp" or "crisp".
Again, playing around with these options to improve on your photo is the best way to learn how to use these options.

Let's venture to Snapseed...
Snapseed has additional options for editing, as we saw last time with Double Exposure. What I like best about Snapseed is that it provides some options for local adjustments - meaning you choose what parts of the image are being affected and do not have to change the entire image with your edit. For example, if you feel that the picture looks great, but a person's skin feels a little bit dark, you can choose the brush option, the exposure option, and use your finger to brush this option on the areas you want to brighten. It's best to zoom in and do small areas at a time. You can choose to increase a little, or a bit more, and you can repeat the process if you're not happy with the highest option. So, the brush tool allows you to make adjustments to specific areas of a photo - this includes Dodge and Burn (which adds "burnt" areas or brightened areas depending on which you pick), Exposure, Temperature (blues/yellows), and Saturation.

Another option to make local adjustments is the Selective option. This allows you to adjust a circular area in your photo and you can change the size of the circular area. Here you can adjust Brightness, Contrast, Saturation, and Structure. Structure is a clarity adjustment. Here, sliding up and down changes between the options, and sliding left and right make adjustments. With structure, if you slide left, you are adding structure to your photo (this can be good for photos that are slightly out of focus or if you want to make an area stand out a bit more), and if you slide right, you decrease structure (which makes things softer. Often we look to soften skin to blur imperfections. A little goes a long way!).
Another useful tool in Snapseed is the Healing option. This allows you to "fix" things in your image or to erase things that you don't want there. It works pretty well, but it's not perfect. If you want to change something in your photo, definitely zoom in on that area of the photo, otherwise the brush will be so big that it will be useless. Then, you just color in the area you want to be fixed or the object removed. You can drag over the same area more than once if it doesn't come out correctly the first time. Sometimes it just creates a disaster, but there is an undo button that you can use to revert back to pre-disaster.
Snapseed has many more options embedded in it and for a mobile photo editing app that's free, it's phenomenal and packed with tools. I encourage you to explore the app, and you are welcome to reach out if you have questions or need assistance!
Comments